Using an ATM for the first time can feel a little stressful. You’re standing at a machine that connects directly to your bank account and it’s often in a public place. The good news? Once you understand the basics, ATMs are fast, simple, and available almost everywhere.
Whether you need cash, want to check your balance, or make a deposit, here’s a clear step-by-step guide to help you use an ATM confidently and safely.
Step 1: Make Sure the ATM Is Safe
Before you even touch the screen, pause and look around.
ATMs are convenient, but they’re also common targets for theft. If the area feels unsafe poor lighting, people lingering too close, or anything that looks tampered with on the machine trust your instincts and walk away.
For extra peace of mind:
-
Use ATMs inside bank branches, grocery stores, or well-lit areas.
-
Avoid using an ATM late at night if you’re alone.
-
Keep your cash out of sight.
If something feels off, it’s not worth the risk. There’s almost always another ATM nearby.
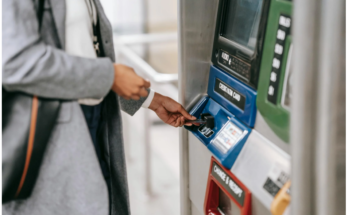
Step 2: Insert (or Tap) Your Card
Once you’re ready, insert your debit card into the card reader. There’s usually a small image showing which direction the card should face. If you insert it incorrectly, the machine will prompt you to try again.
Some ATMs will hold onto your card until you’re finished. Others let you insert and quickly remove it.
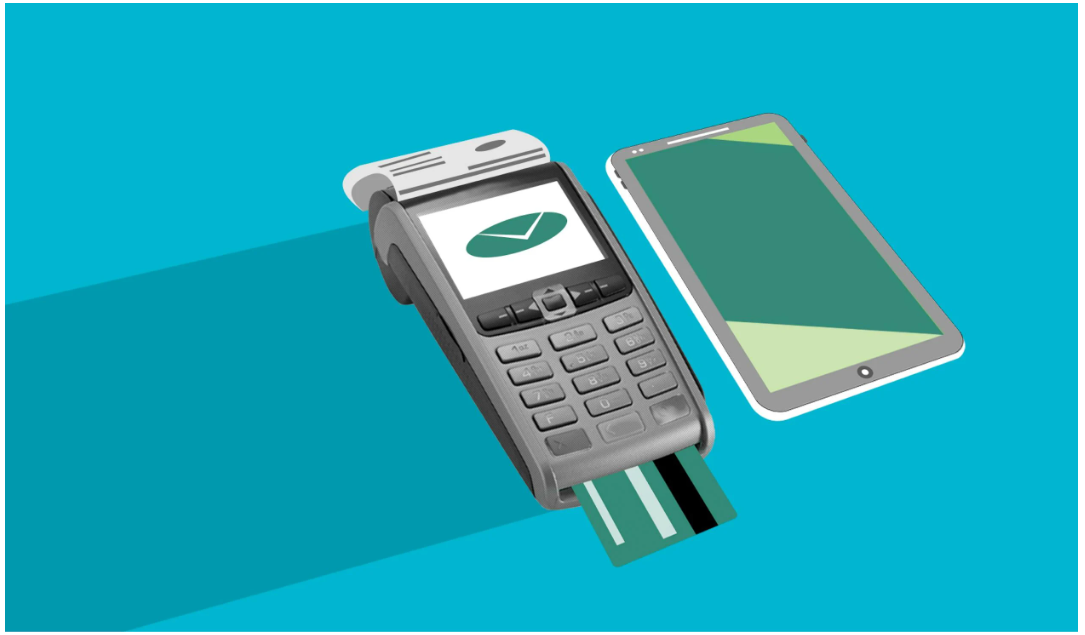
Many banks now offer cardless ATM access through mobile wallets like:
-
Apple Pay
-
Google Pay
-
Samsung Pay
With these options, you can use your smartphone instead of your physical card which can reduce the risk of card skimming.
Step 3: Enter Your PIN (Privately)
Next, you’ll enter your Personal Identification Number (PIN). This is what confirms you’re authorized to use the card.
Always shield the keypad with your hand while typing your PIN. Even if no one is standing close by, small hidden cameras have been found on compromised ATMs.
Never share your PIN not with friends, not with family, and definitely not with anyone claiming to “help” you at the machine.
Step 4: Choose What You Want to Do
Once you’re logged in, the screen will ask what kind of transaction you want.
Here are the most common options:
Withdraw Cash
This is what most people use ATMs for. You’ll select the amount you want, and the machine will dispense the money.
Most ATMs distribute cash in $20 bills, though some offer smaller denominations. If you request $60, for example, you’ll likely receive three $20 bills.
Deposit Money
Many ATMs allow you to deposit:
-
Cash
-
Paper checks
Some machines scan checks instantly and don’t even require an envelope.
That said, if your bank offers mobile check deposit through its app, that may be even easier and more secure — especially for larger amounts.
Check Your Balance
If you’re unsure how much money you have available, you can select “Balance Inquiry.” The ATM will show your current balance on screen and may offer to print a receipt.
This is helpful if you’re budgeting or making a purchase right afterward.
Transfer Funds
Some ATMs allow you to move money between accounts for example, from savings to checking without withdrawing physical cash.
Watch Out for ATM Fees
Not all ATMs are free.
If you use an ATM that isn’t operated by your bank, you may see a surcharge often $2 to $5 per transaction. The ATM will show this fee before you finalize your transaction, giving you the option to cancel.
Keep in mind:
-
The ATM owner may charge a fee.
-
Your bank may charge an additional out-of-network fee.
To avoid fees:
-
Use ATMs owned by your bank.
-
Look for ATMs in your bank’s partner network.
-
Consider switching to a checking account that reimburses ATM fees.
For example, some banks refund a certain number of out-of-network ATM fees each month.
Should You Print a Receipt?
ATMs usually offer a printed receipt, but you don’t always need one.
If you’re simply withdrawing $40 and you’ll see the transaction in your banking app anyway, you can skip the receipt.
However, you should consider printing one if:
-
You’re depositing a check
-
The machine acts strangely
-
You want proof of the transaction
Avoid throwing receipts in public trash cans. They may show partial account details.
Finish the Transaction Properly
This step is critical.
When you’re done, make sure the session is fully closed. The screen should return to its welcome or start page before you walk away.
Before leaving:
-
Take your cash immediately.
-
Put it away discreetly.
-
Retrieve your card (if the machine held it).
Some ATMs will pull your card back in if you leave it too long. If that happens, you may need to contact your bank and possibly request a replacement card.
What If Something Goes Wrong?
Occasionally, ATMs malfunction. For example:
-
The machine keeps your card.
-
You don’t receive the cash you requested.
-
The screen freezes mid-transaction.
If that happens:
-
Note the location, time, and any error messages.
-
Call your bank immediately using the number on the back of your card or in your banking app.
Banks can usually resolve ATM errors quickly especially if you report the issue right away.
Can You Use a Credit Card at an ATM?
Yes, but it’s usually not a good idea.
Using a credit card at an ATM creates a cash advance, which often comes with:
-
An upfront fee
-
A higher interest rate
-
Interest that starts accruing immediately
Unlike regular credit card purchases, there’s typically no grace period. That means interest begins the moment you withdraw the money.
Unless it’s an emergency, using a debit card is usually the smarter option.
Please take a look at this as well:
How to Deposit a Check: A Beginner-Friendly Guide