If you have a checking account, a check register is one of the simplest tools you can use to stay in control of your money. It’s not fancy. It’s not high-tech. But it works.
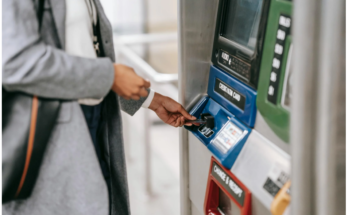
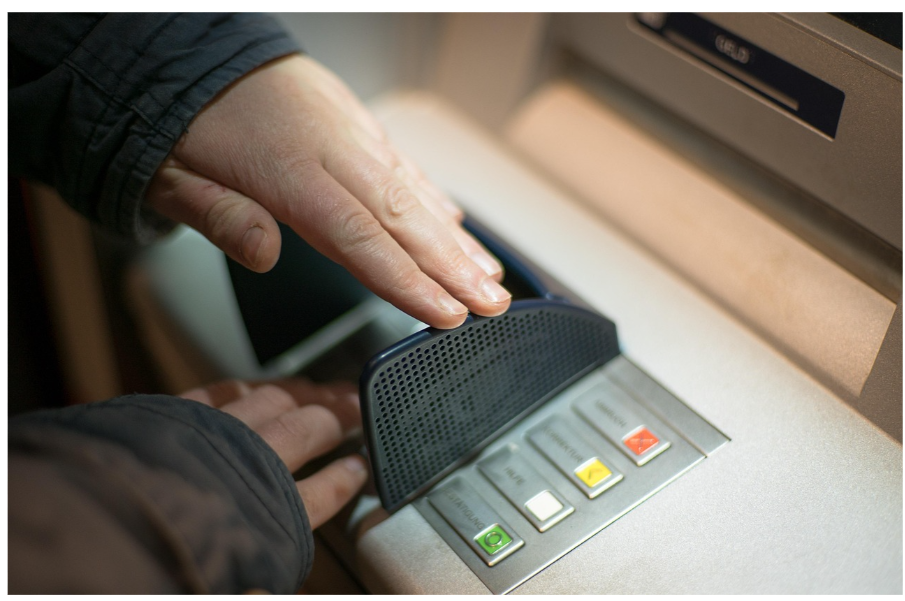
A check register is basically a personal logbook for your bank account. You write down every deposit, payment, debit card purchase, ATM withdrawal, or check you write and keep a running balance so you always know how much money you truly have available.
Even in today’s world of mobile banking apps and instant balance updates, keeping your own record can save you from overdraft fees, missed payments, and unpleasant surprises.
Let’s break it down.
What Is a Check Register?
A check register is a list of all transactions in your checking account, along with an updated balance after each one.
Think of it as your personal version of your bank’s transaction history but more accurate in real time because you include transactions that haven’t posted yet.
For example:
-
You write a $200 rent check today.
-
Your bank may not deduct that money for several days.
-
Your online balance still shows the money available.
-
But in reality, that $200 is already committed.
If you track it in your register, you won’t accidentally spend it.
A check register can be:
-
A paper booklet
-
A printable PDF
-
A spreadsheet (Excel or Google Sheets)
-
A budgeting app
-
A notebook you design yourself
The format doesn’t matter. The habit does.
Where to Find Free Check Registers
You don’t have to buy one.
Here are easy (and often free) ways to get one:
1. Download a Free Spreadsheet Template
You can find free check register templates for:
-
Microsoft Excel
-
Google Sheets
These are great if you prefer typing instead of writing by hand.
2. Use a Printable PDF
Many financial websites offer simple printable check registers. Print as many as you need.
3. Create Your Own
It’s surprisingly simple. Open a spreadsheet or grab a notebook and create these columns:
-
✔ Cleared (a checkbox)
-
Check number or transaction type
-
Date
-
Description
-
Payment/Debit (-)
-
Deposit/Credit (+)
-
Running Balance
That’s it.
4. Buy One (If You Prefer Paper)
If you like traditional paper registers, you can purchase them from retailers such as:
-
Walmart
-
Amazon
-
Local office supply stores
You can also order them from your bank or check-printing company.
Why Bother Using a Check Register?
You might think, “My banking app already shows my balance. Why do I need this?”
Here’s why.
1. Your Bank Balance Can Be Misleading
Banks only show posted transactions. They don’t always include:
-
Checks that haven’t cleared
-
Pending automatic payments
-
Upcoming subscriptions
-
Future scheduled payments
Your check register shows what you actually have available.
2. Avoid Overdraft Fees
Overdraft fees are expensive. One small mistake like forgetting a $75 automatic bill can trigger a $35 fee.
If you track everything in your register, you’ll know:
-
Whether you need to transfer money from savings
-
Whether you need to delay spending
-
If your account is getting too low
3. Catch Bank Errors
Banks are accurate most of the time but mistakes happen.
If your register says $1,250 and your statement says $1,050, that’s a red flag. You can investigate and fix it quickly.
4. Spot Fraud Early
If you see a charge in your bank account that isn’t in your register, that could signal unauthorized activity.
The faster you catch it, the easier it is to resolve.
5. Understand Your Spending Habits
Writing transactions manually forces awareness.
When you physically record:
-
$14 for lunch
-
$9.99 for streaming
-
$85 for groceries
You start noticing patterns.
That awareness alone can improve your spending decisions.
How to Use a Check Register (Step-by-Step)
Using one is straightforward.
Step 1: Write Your Starting Balance
At the top, record your current bank balance.
Step 2: Record Every Transaction
For each transaction, include:
-
Date
-
Description (Rent, Gas, Grocery Store, Paycheck, etc.)
-
Amount (debit or credit)
-
Updated balance after the transaction
Add deposits.
Subtract payments.
Update the balance every time.
Step 3: Mark Cleared Transactions
When a transaction appears on your official bank statement, mark it as cleared (✔).
This helps you see what’s still pending.
Step 4: Reconcile Monthly
Once a month:
-
Compare your register to your bank statement.
-
Make sure the balances match.
-
Investigate any differences.
When Should You Update It?
Ideally, immediately after each transaction.
Realistically:
-
At least once a week
-
More often if your balance runs low
-
Immediately if you’ve had overdraft issues before
A good habit is saving ATM and debit receipts and entering them later that day or week.
Real-Life Example
Let’s say your bank app shows $800.
But:
-
You wrote a $300 rent check (not cleared yet).
-
You have a $120 automatic car insurance payment tomorrow.
-
You just used your debit card for $60 groceries.
Your actual available money isn’t $800.
It’s: $800– $300– $120– $60= $320
Your check register would show that. Your bank app might not at least not yet.
That difference can prevent a financial mistake.